Of course, every shopper and every shop is different, so not everything in this list will necessarily apply to you and your local fabric stores, but a large majority of it is bound to help you.
This is mostly meant for newer sewers/quilters, but I've included some tips that would apply to both beginners and novices as well as a few notes that probably only apply to more experienced sewers/quilters.
I've also included some rules of common fabric store courtesy near the end, just so that you don't infringe upon them unintentionally and accidentally get on the bad side of any fabric store workers.
So, here's my list. I'll probably add to this as time goes on:
-Just remember that there's nothing wrong with being new at something. Anybody who makes fun of you or looks down on you because you're less knowledgeable than them is just being pretentious and you should ignore them. I, for one, congratulate you on your decision to enter a fabric store and try out the world of sewing/crafting/quilting.
-Keep in mind that the people serving you are people too and they're generally just trying to do their jobs. We have bad days, rules, and limitations and often, especially if you come in while it's busy, we can't give you as much time as we'd like or word our answers in the most ideal fashion.
-Fabric and quilting shops generally close earlier than places like Wal-Mart and Best Buy. Make sure you check out the hours of any places you want to visit before going there. It's frustrating for you to not have as much time as you thought you had or to get there after they've closed. It's also super frustrating for the workers if you come in ten minutes before closing and tell us you want to make a quilt. We have two options, to stay an hour after closing for you (an hour more than we were scheduled for) or to kindly-as-possible ask you to come back when there's time for such an endeavour.
-Try not to go in with a specific fabric in mind (unless you've seen that fabric at that store before) because you probably won't find it. I'm talking mostly about fabrics you've seen on couch cushions or that you've simply imagined. There's essentially no chance you'll find that exact fabric. If you saw a fabric on the internet that you want, don't just try to describe it to us. Pictures on phones of what it looks like are the most helpful, but designer and line names are also useful. Keep in mind that it's fairly likely that the store won't have it, especially if it's a smaller store. Don't get hung up on that one fabric. Fabric stores have tons of gorgeous stuff. It's hard not to find something that will work or that you will like.
-Always buy extra! For example, if you need 5 2.5" strips, don't request exactly 12.5," especially if you're a beginner. This is partially in case you make mistakes in your cutting or made mistakes in your measuring, but also in case the fabric store worker has cut your fabric crooked. If it's a quilting store, they probably use a rotary cutter to cut the fabric and it'll usually be pretty straight, but especially if they use scissors, your edges aren't always going to be straight. If you realize later that you don't have enough fabric, the store might not have more when you go back.
- Try to make time for your project. Especially if you're not practiced at picking things out or you know you have a more particular taste or project, try to make lots of time. You save yourself a lot of time and stress if you can just get it done in one trip. You're also less likely to be confident in your decisions and your cutting instructions when you're in a rush. If you're taking the time and spending the money to make your project from scratch, you can take the time to make sure you're alert and focused when you're picking the fabric.
-Come with as few distractions as possible. I'm talking about being in the middle of planning a family gathering over the phone, bringing your whiny husband along and, probably the most common, bringing your kids along. Every kid is different and some of them are fine, but some kids are completely counterproductive to your project. Not only are they often stressful and distracting for you, but you also run the risk of having to pay for things that they destroy or having to help us clean up their messes. This also depends on your project. If you're just looking for one fabric and you don't expect it to be terribly difficult, you can get away with more distractions. If you have a cranky baby and 2-year-old twins, however, you're probably not going to be able to compile the fabric for a queen-size quilt, especially if you're new or you've never been to the store before. I'd say about half the women who come in with small children and no other adults go home empty handed. Of course, I'm not the boss of you and you know your limitations and your children better than I do, but just from what I see, a lot of mothers over-estimate their fabric-picking capabilities when they're holding a crying child.
-Try not to over-think things. You need to find a balance between not thinking your purchase through and spending twenty minutes trying to decide which shade of lavender you should use for the lilacs in your applique wall hanger for which you only need .1 metres. So, be careful, but don't insist on looking for another hour after you've found something that works. You have no idea how often I've helped a customer put together fabrics that went together really well only to have them try switching out half the store into the project only to end up with the exact same thing in the end or to just stress themselves out and leave with nothing. This is super annoying for the workers, who have spent an hour with you and have to put away the huge mess you've made, but it's also not productive for you. Try to have an open mind and think objectively. Don't get caught up in little details about the fabrics, because in my experience, most of them don't actually end up interfering with the end product. The only quilts I have ever seen that turn out poorly are ones that were improperly put together or in which the quilter really did just pick random fabrics and put them together and usually, those are just scrappy quilts and that's kind of the point.
-Go ahead and ask for help. Don't get frustrated if nobody asks you if you need help. There are plenty of innocent reasons for a worker not to ask you if you need anything. Ideally, we like to talk, however briefly, with everybody that walks into the store, but it just doesn't happen sometimes for whatever reason. Some stores just don't pressure their staff to talk to customers that much or sometimes a staff member is new, shy or (in my case) has terrible facial recognition and all middle-aged ladies and hipster moms look the same to me and I'm scared to ask the same person twice if they need help. If you have a question or need help, go ahead and ask. However dumb you think your question is, I will bet you there have been far dumber. And regardless of whether your question is "dumb" or not, it's bothering you or impeding your ability to proceed with your project, so you need to get it sorted out one way or another. The more educated you are about sewing, the better your project will turn out. Also, I generally don't judge people for "dumb" questions because, as stated in my first point, I think it's pretentious to look down on somebody for not knowing something you know when it comes to non-common knowledge stuff like quilting or sewing. Maybe I know more about sewing than you, but maybe you didn't have regular mental breakdowns in physics 20 because you suck at physics. We all have our areas of ignorance and expertise and I think it's great whenever anybody tries to learn more about something.
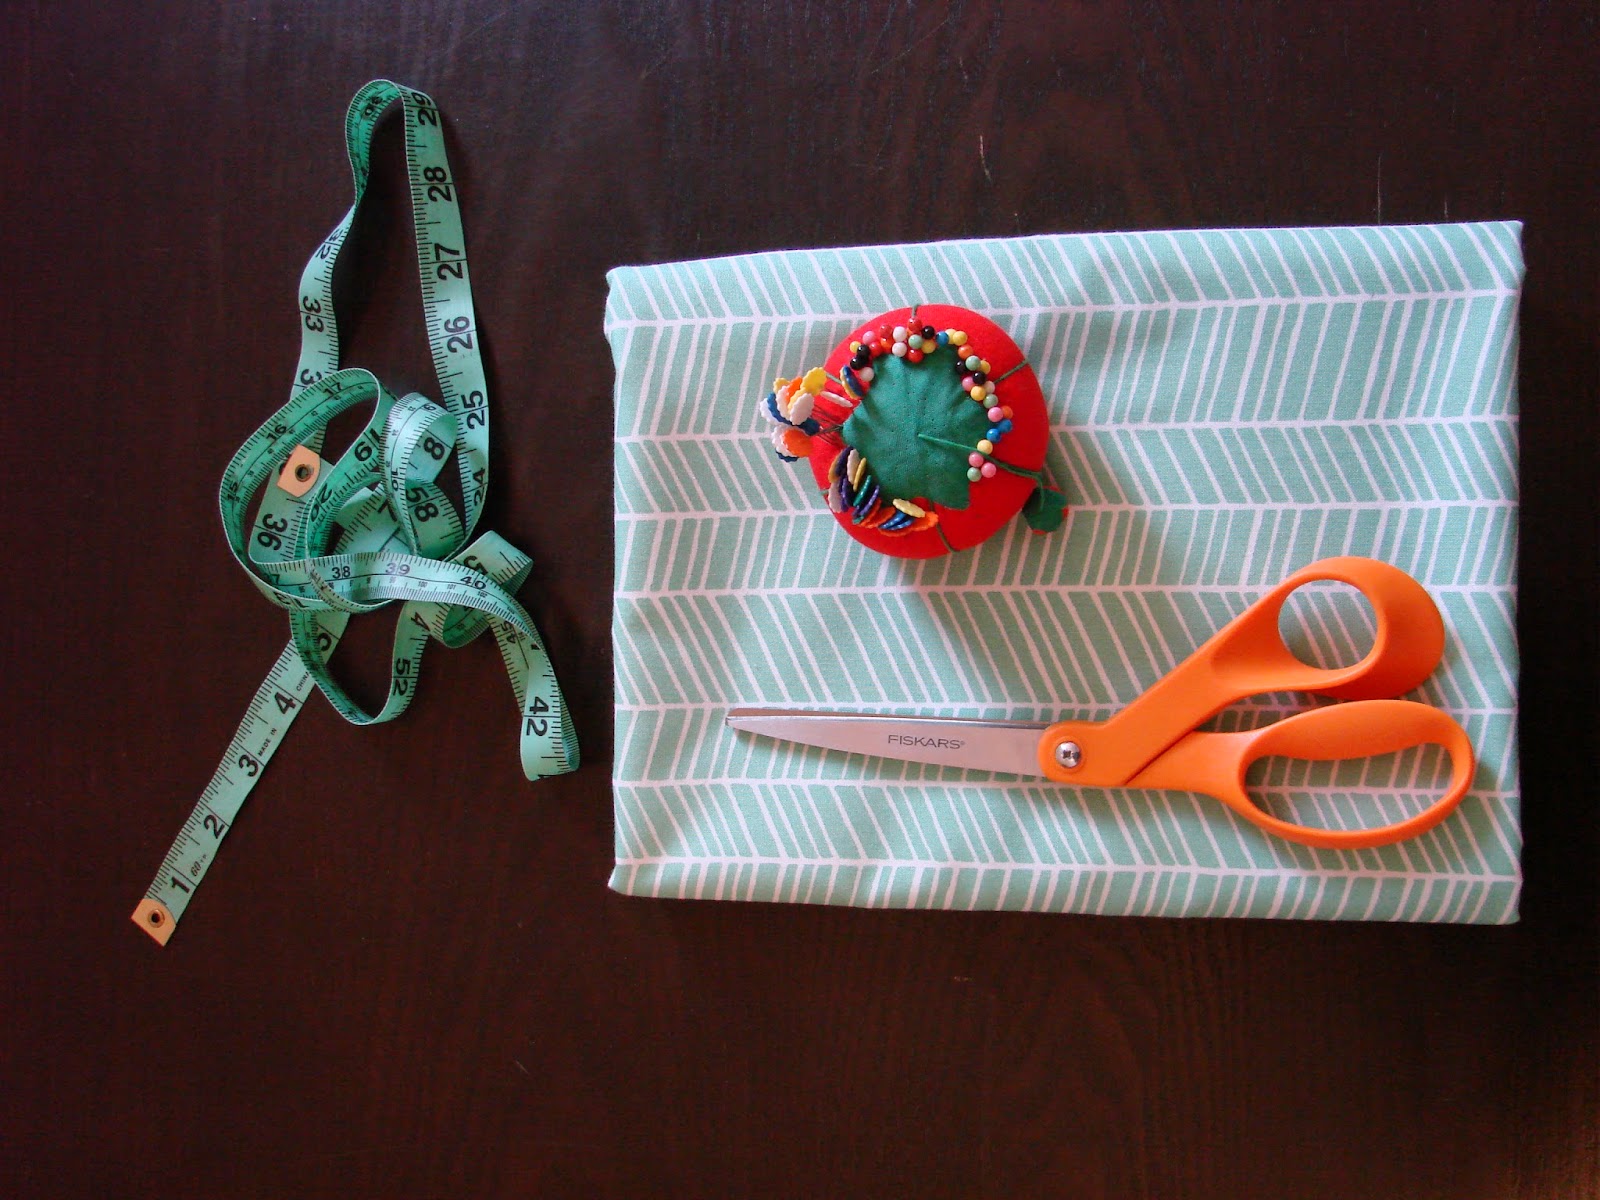
-Know the difference between a cash register and a cutting table. Some stores will have them right next to each other, but some will have a central register and cutting tables throughout the store. If you bring fabric to be cut to the cash register, you run the risk of us not noticing you or just thinking that you're still looking around. If you want your fabric cut, go to the cutting table or ask a worker what to do. Cutting tables require quite a bit of room and are pretty noticeable. Unlike a register table, they'll be quite large and will have a ruler/tape measure on the side.
-Ask about minimum cut requirements. A minimum cut refers to the smallest amount of fabric you can buy. Some stores will have rules about the amounts of fabric you can buy. The store I work at will let you buy pretty much whatever you want with a minimum cut of .1 metres (about 4"), but we're pretty unique in that department. It's not uncommon for a store to only let you buy in increments of .25, .5 or even 1 metres/yards. It's good to know this ahead of time because it might impact the amounts you're getting. For example, if you know that you need 23 inches, the worker may not be able to cut you 23 inches, or know exactly what that is in metres or yards. They can however cut you 2/3 yards or .6 metres (which is 24 inches).
-The more prepared you are, the better. If you're matching to a certain fabric or unfinished project, bring it. We can't help you if you just say "I'm looking for something to match my quilt that's at home" because we don't know what your quilt looks like. Describing it to us doesn't help much because language is extremely subjective. Words like "modern" or "turquoise" probably mean slightly different things to you than they do to me and again something totally different to the next customer who uses the same words. Generally, people seem to overestimate their ability to remember colours. You'll think you know the shade of yellow in your quilt like the back of your hand, but as soon as you look at the yellow section of the store, that shade is out the window. I can't even remember the exact shade of a colour walking from one side of the store to another. I usually need the fabric I'm matching it to with me the whole time, or at least having it helps a lot.
If you have a pattern, bring it. If you just say "I'm making a dress. How much fabric do I need?" we won't be able to help you because dresses can take anywhere from 1-15 metres of fabric. That's like going into a hardware store and saying "I'm dry walling a room. How much dry wall do I need?" If you don't have the requirements, we'll just be making educated guesses and (sorry, but...) it's your own problem if you don't get the right amount of fabric.
It has become very popular lately to not buy patterns and instead come up with your own, just go off of a picture you saw somewhere or use internet tutorials. If you're doing this, please figure out as much of the math as you can beforehand and bring it with you. If it's a really simple project, we can sometimes figure out how much you need, but often we simply can't know. It's not because we're incompetent or because we don't feel like it; it's because it would potentially take hours or a whole day to do so and we just don't have time for that.
Do not just show us pictures and ask "how do I make that?" Most fabric store workers actually aren't allowed to spend time trying to teach you how to sew/quilt or to spend excessive time figuring out fabric requirements. Even if there isn't a policy, it's often not possible for us to know how much fabric you need just from a picture or a description. And even if it is possible, we ain't got time for that, on the account that designing a quilt/garment require excessive amounts of know-how and sometimes several days of work. If you aren't going to spend the money on a pattern, you're risking having to figure it out on your own and/or not getting the right amount of fabric. It's unfortunate, but it's just the way it is; we can't do anything about it.
Every store and worker is different, but you can sometimes get help figuring out some fabric requirements. Personally, I'll gladly figure out things like backing and binding (provided you know the dimensions of your quilt) or will answer questions like "How many 5 inch squares can I get out of a metre?" I will not, however, be able to give you a good answer to the question "How much fabric do I need for a queen-sized quilt top?" or "Does this match my wallpaper that I don't have with me, not even a picture?"
-Remember that we can't read your mind. If you're looking for a specific fabric, designer and line names are useful, but swatches and pictures are the best. Do not ask questions like "Where's something that I'll like" or "where's your pretty fabric." We don't know what you like, nor what you mean by "pretty." We generally don't buy "ugly" fabric, so we'll just gesture to the whole store and tell you to knock yourself out. We can direct you to different store sections and we can help you match fabric to fabric you've already picked out. You're much better at knowing what you'll like and what you want to make your project out of.
-Remember that we cannot fabricate things from sheer will. If we tell you that we don't have something, telling us about why you need it or how much you want it won't change anything. Even if it's for your dying grandmother, we can't do anything if we simply don't have the fabric/product. If you're open to using something that's not exactly what you asked for, then tell us that. In that situation, explaining your project may help us direct you to a fabric that might work. This is mostly helpful for special projects requiring unusual fabrics, like laminated cotton or canvas or some such thing. Sometimes instead of canvas you can use denim, for example.
-Especially if you're new to the game, you might not be using the right terminology, so don't get discouraged if we aren't sure what you're talking about. If you walk into a store and ask for "wool" and you actually mean wool fabric or felt, they might say no because they think you're talking about yarn. Generally, referring to a product by it's fiber content isn't preferable because it's vague. Lots of things can be made out of wool and cotton and polyester. Try learning the terminology for materials and products you need or writing them down if you think you might not remember. If you aren't sure what something is called, just try describing it to us or looking it up on the internet beforehand. We can't read your mind, but we can usually figure out what you mean.
Reading my post of beginner tips and tid-bits might help you know some terminology.
Even if you are using the right terminology, sometimes there are lots of different words for what you're talking about and the worker might not be familiar with the terminology you're using. Don't just use brand names unless you know from experience that that store carries that brand. For example, if you walk into a quilting store right now and ask for Steam a Seam, they're going to tell you they don't have any because that brand has been discontinued for the foreseeable future, but they will generally have other brands of applique paper (double-sided interfacing, double-stick applique paper, etc...) that will work just fine. It's helpful to know what brand you want as well as the generic name for what you're purchasing. 505 spray, for example is just a wash-away spray adhesive. A store might have wash-away spray adhesive but not have any 505. On the other hand, a worker, especially if she/he is new, might not know exactly what 505 spray is, but they'll know that they have it. Do remember that just because we might not use the same terminology as you, that we very well still may be very competent workers who know a lot about sewing and quilting.
-Don't bring food. This is just common fabric store courtesy. In fact, just avoid making messes of any kind. I think we can safely assume that no food or drink is allowed in any fabric store, so just don't bring any. If you really don't have any other option, you can ask a staff member if there's a safe place you can put your beverage/food. But be warned that even if somebody else, including a staff member, knocks it over onto fabric, you'll have to pay for it. Generally, there isn't a "no spilling food" rule, there's a "no food" rule, so it's the fault of whoever brought the food, not whoever knocked it over.
-Don't un-package things. By this, I mean that you can't take pieces of fabrics or patterns from kits. Don't unroll things that are tied up. Taking the pattern or a piece of fabric from a kit essentially makes the whole kit useless, so you may as well have stolen the amount the kit is worth from the store's register. It's not okay to do, ever.
-Don't put stuff on the cutting mat. If the fabric store has a cutting mat (and most quilting stores do) don't put fabric, your purse, your children, etc... on it. We need that for cutting. Put your fabric on the cutting table, but not on the mat. Anything put on the mat is subject to movement as well as being cut.
-Don't talk to the worker while they're do math or counting. I can either measure your 5 metres of fabric or I can figure out how much you need for binding. I can't do both at the same time. If you want coherent answers and accurate math and measuring, let us concentrate on one thing at a time and don't get mad if we don't answer your questions while we're measuring.
-Don't flip fabric up-side-down. Okay, this probably won't benefit you at all; it's just a pet peeve of mine. The selvage goes down and the end with the price on it goes up, or out or wherever it was before, which we can generally assume is where the price is most visible.
- Ask about taking pictures. Taking pictures can be helpful in a lot of ways. You can go home and refer to them later or you can send them to friends and family for second opinions. But make sure you ask a staff member! Some stores have policies about taking pictures. Just remember that the exact colour/hue in the picture may not match perfectly the fabric in real life. Also remember that it is 100% completely illegal to take pictures of patterns, even if it's just the cover or the fabric requirements or a page in a magazine, without the permission of the writer of the pattern. It's also illegal to write down fabric requirements or anything from a pattern other than it's name or designer when you haven't purchased said pattern. You also aren't allowed to open patterns, generally. You'd be amazed how many people do this, but it is actually a form of stealing, similar to illegally downloading music except instead of hurting a big record-labeling company or iTunes, you're often hurting small independent store owners and pattern designers, who are often pretty regular people who probably don't make any more money than you. If you do take a picture of fabric and you post it online, be sure to mention who designed the fabric, just to be safe. I don't know of many people getting in trouble for this sort of thing, but regardless, the designers deserve credit; they're real artists and real people.
-Don't make comments about things being cheaper online. Firstly, things online are usually in US dollars, don't include sales taxes and are per yard ( a yard is smaller than a metre), so right off the bat, they're not actually as cheap as they look. You also have to pay for shipping and any across-the-border fees and you don't have the security of seeing and feeling exactly what the fabric is like. Obviously, if you're in a store, you understand the appeal of shopping there versus online. Additionally, we can't do anything about our prices. Generally, stores, especially the small ones, actually price very fairly. If you prefer shopping online, that's fine, but there's no need to needlessly criticize innocent staff about it.
-Don't fall for sleazy sales tricks! If a store regularly offers its fabric at 50% off, you know they're at least doubling the suggested retail price. Don't look at the percentage off when comparing prices between fabrics and stores, look at the actual price. Some stores (like mine) just have everything at a fair price all the time while some stores will have ridiculously high prices most of the time but put on ridiculously appealing sales every once in a while. Don't be tricked by this and don't complain to a worker if their store doesn't have regular half-off sales, because that probably means that their products are just priced fairly on a regular basis. Also, if you're in our store, you're generally not legitimately there to just let us know that that "other" shop is superior. You're here because that other shop didn't do it for you and there's something that makes our store worth visiting.
-Don't fall for sleazy sales tricks! If a store regularly offers its fabric at 50% off, you know they're at least doubling the suggested retail price. Don't look at the percentage off when comparing prices between fabrics and stores, look at the actual price. Some stores (like mine) just have everything at a fair price all the time while some stores will have ridiculously high prices most of the time but put on ridiculously appealing sales every once in a while. Don't be tricked by this and don't complain to a worker if their store doesn't have regular half-off sales, because that probably means that their products are just priced fairly on a regular basis. Also, if you're in our store, you're generally not legitimately there to just let us know that that "other" shop is superior. You're here because that other shop didn't do it for you and there's something that makes our store worth visiting.
Well, that's all I can think of for now. I'm likely to think of more and add to this list as time goes on. If you have any questions or comments, leave a comment!
If you're a beginner sewing or quilter, read my post on things beginner sewers and quilters should know.
If you like what you've read here, check out my other blog posts as well as any of the other social networking nonsense I'm trying to get the hang of: