
Do you want to make fabric hair bows? Well, this is the tutorial for you.

Materials needed:
~0.25 meters/yards* of fabric**
~Matching thread (it should match fairly closely)
~Fabric scissors or a rotary cutter ensemble
~Pins
* This makes 4 bows the same size as what's in the pictures. You can do different sizes, of course. Go ahead and experiment and what-have-you.
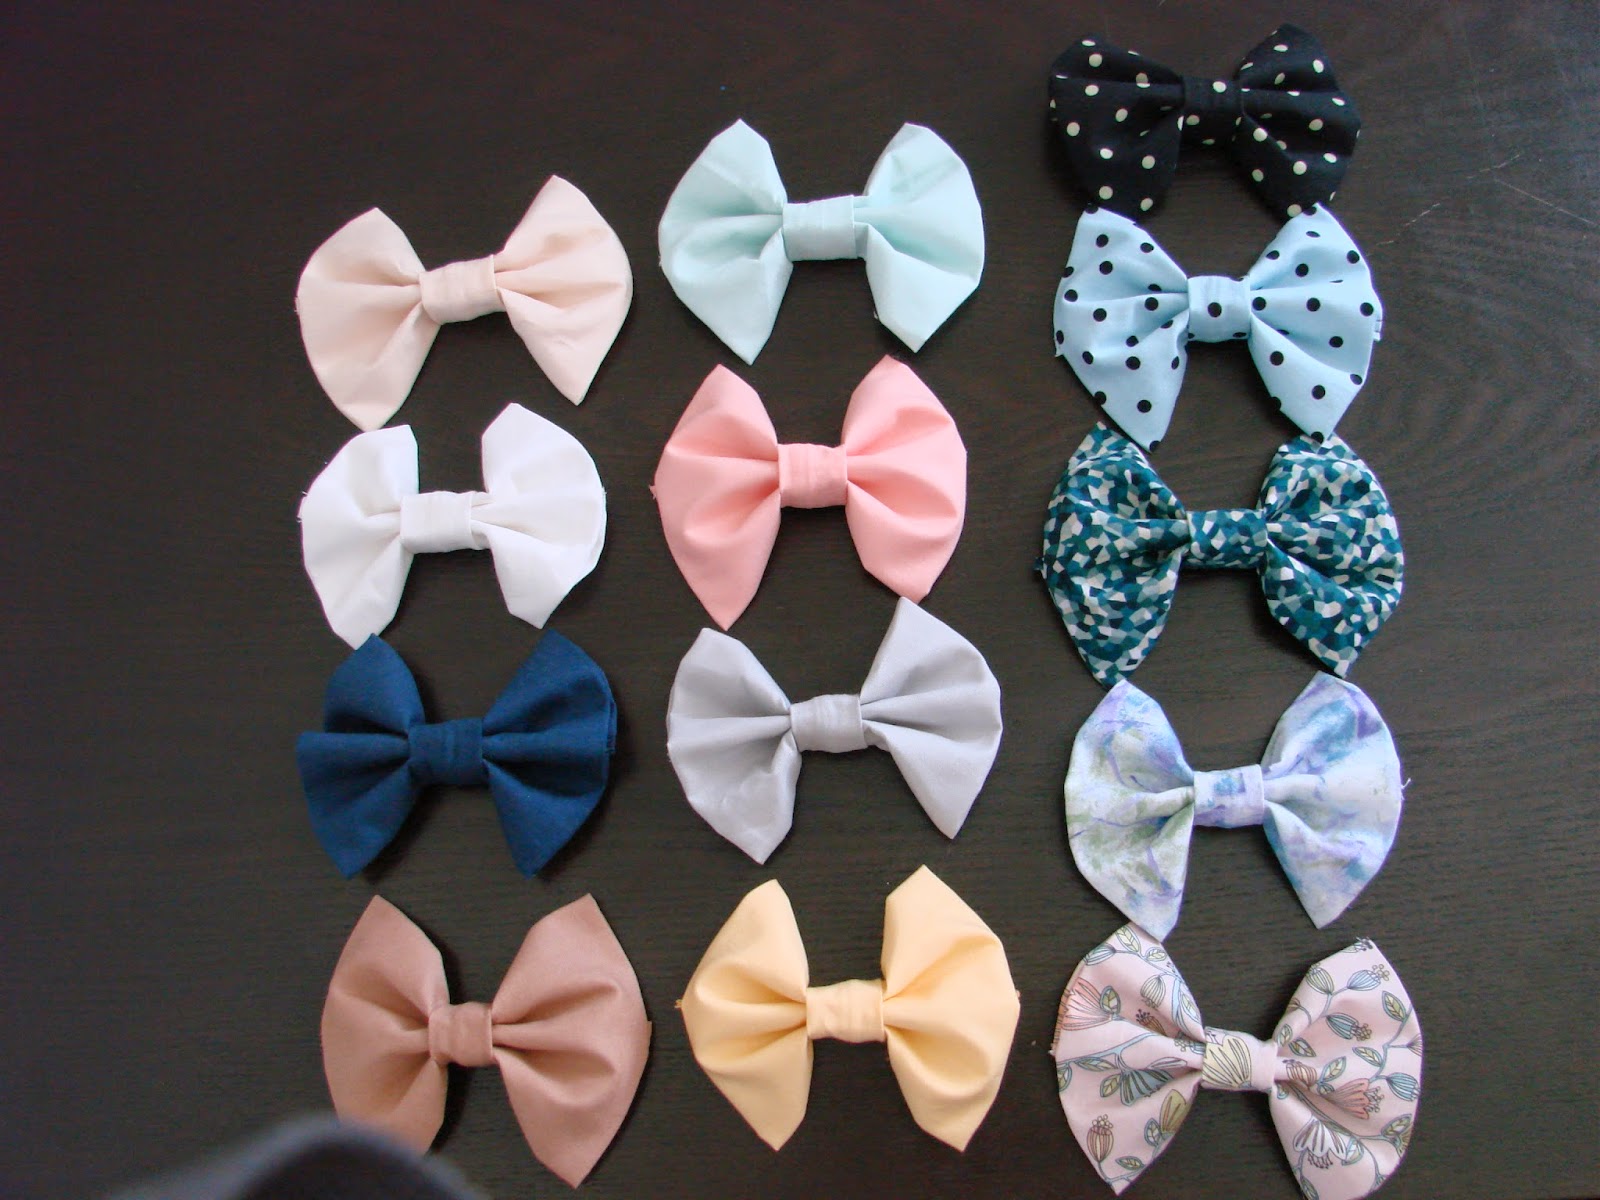
** All of the bows in this tutorial are made from quilter's cotton, but you can also make them out of satin, lace and other fabrics. You may what to use an interfacing or layer the fabric to make it stiffer depending on the fabric you use.

As always, the first step is to cut off the selvage and make sure the edges are relatively straight. It doesn't have to be perfectly even, but do what you can. This is easier with a rotary cutter than with scissors.

It's hard to take pictures with my left hand when holding scissors with my right, so the tape measure is crooked, but yours should be straight.
Anyways, cut a 3.5" strip off from one of the ends

Just like this.

Cut that strip into 4 strips of approximately 2.5" x 3.5"
Then cut the remainder into 4 rectangles of about 9" x 10"
Take one of the smaller and one of the larger rectangles and put the rest aside for later.

Take the smaller rectangle...

and fold it in half with the longer side together.

Sew it along the long sides so that you have a tube. Don't forget to fix your stitches at the beginning and end of the stitch.

You should do a zig-zag stitch along the same edge so that the seam doesn't fray apart over time. You could easily not do the zig-zag stitch and it'd turn out just fine. I just do because I sell a lot of the stuff I make and I really like to extra make sure it never comes apart.

After you have your tube, turn it right-side-out (If this is difficult, you've done it right) and fold the raw edges together, right sides together (so that you can see the seam). Sew that edge together. Don't forget to fix your stitches and snip excess threads.

Turn your piece in-side-out and you should end up with a little tube like this. This is the cinch of your bow.
But we need to put it aside for a few minutes while we make the body of the bow.

Grab the larger rectangle.

And fold it in half. If your piece is approximately square, it doesn't matter which way you fold it. I've folded it with short sides together for this bow. You can play around with sizes and such and decided what you like best.

Now sew along the edges you've folded together. Again, I've zig-zag stitched along the edge in between the edge and the straight stitch. Don't forget to fix your stitches.

And you'll end up with a tube. Don't forget to cut your threads.

Turn your tube right-side-out so that you have a right-side-out tube.
Then find the halfway point across from the seam and mark it with a pin.


Do the same with the other side and fold the two pins together, rights side together so that you can see the seam. Make sure that the seam allowance is faced the same way so that it'll lay flat.

Then take out one of the pins and use the other to pin the two sides together.

Then sew that edge together. I'd say you should definitely zig-zag stitch this edge. Don't forget to fix your stitches.

This is what it should look like. If there's excess seam, you might want to cut it off to reduce bulkiness. Don't cut too close to the seam, though.

Starting from the middle, make some folds. You'll probably want to keep it symmetrical, but naturally, you're your own boss and you can do what you want. Something like this usually works out.


Then stick in two pins to keep the lovely folds you've made in place.

Now, press the folds on one edge together

Like this.

And slide your cinch on. The seam of your cinch should be on the back of the bow. Take out the pins as you get to them.

After a bit of fidgeting and scrunching, you should end up with something like this. It's quite typical to feel like you never get it perfectly straight, but you'll figure it out.

Now for the clips. Just slide it into the back of the bow in between the cinch and the bow.
I like these type of clips, just cause I do. There are lots of different kinds you can use. Alligator clips are probably the most common choice.
Once you're happy with the way your cinch is situated, you'll want to glue it in place. This brand seems to work just fine. Any fabric glue will work. Velcro glue will also work. One thing that will make it easier is if it has a longer nozzle like this. Try not to get the glue anywhere that you can see it.
I know lots of people glue the clips in place as well, but I prefer not to. They stay in just fine without it and I like giving people the option of taking the clip out if they want to.

And here's a really common way to wear your bow.
My husband took these pics and was helping me make it straight, so naturally, it's not very straight.
Sorry if this didn't make much sense. I wrote most of this during a particularly sad part of season 5 of "Buffy the Vampire Slayer". If you've seen it, you'll know what I'm talking about and know that that was a bad idea.
If you like what you've read here, check out my other blog posts as well as any of the other social networking nonsense I'm trying to get the hang of:
No comments:
Post a Comment