

Ever look at all those gorgeous quilter's cottons and wish you could make a scarf out of them because of all the awesome designs? Well, I do. In addition to making infinity scarves from knits and dress fabrics, you can also make them from quilter's cotton - and lots of other fabrics too for that matter.
This scarf is great for the spring and summer because cotton is nice and light and breathable. I know I get so used to putting together presentable outfits when it's cold that during the 4 or so months that it's warm I don't really know what to do with myself. This scarf is a great way for looking fabulous in warm weather.
To see more Infinity scarves by me, go to my Etsy shop, Christi's Corner.
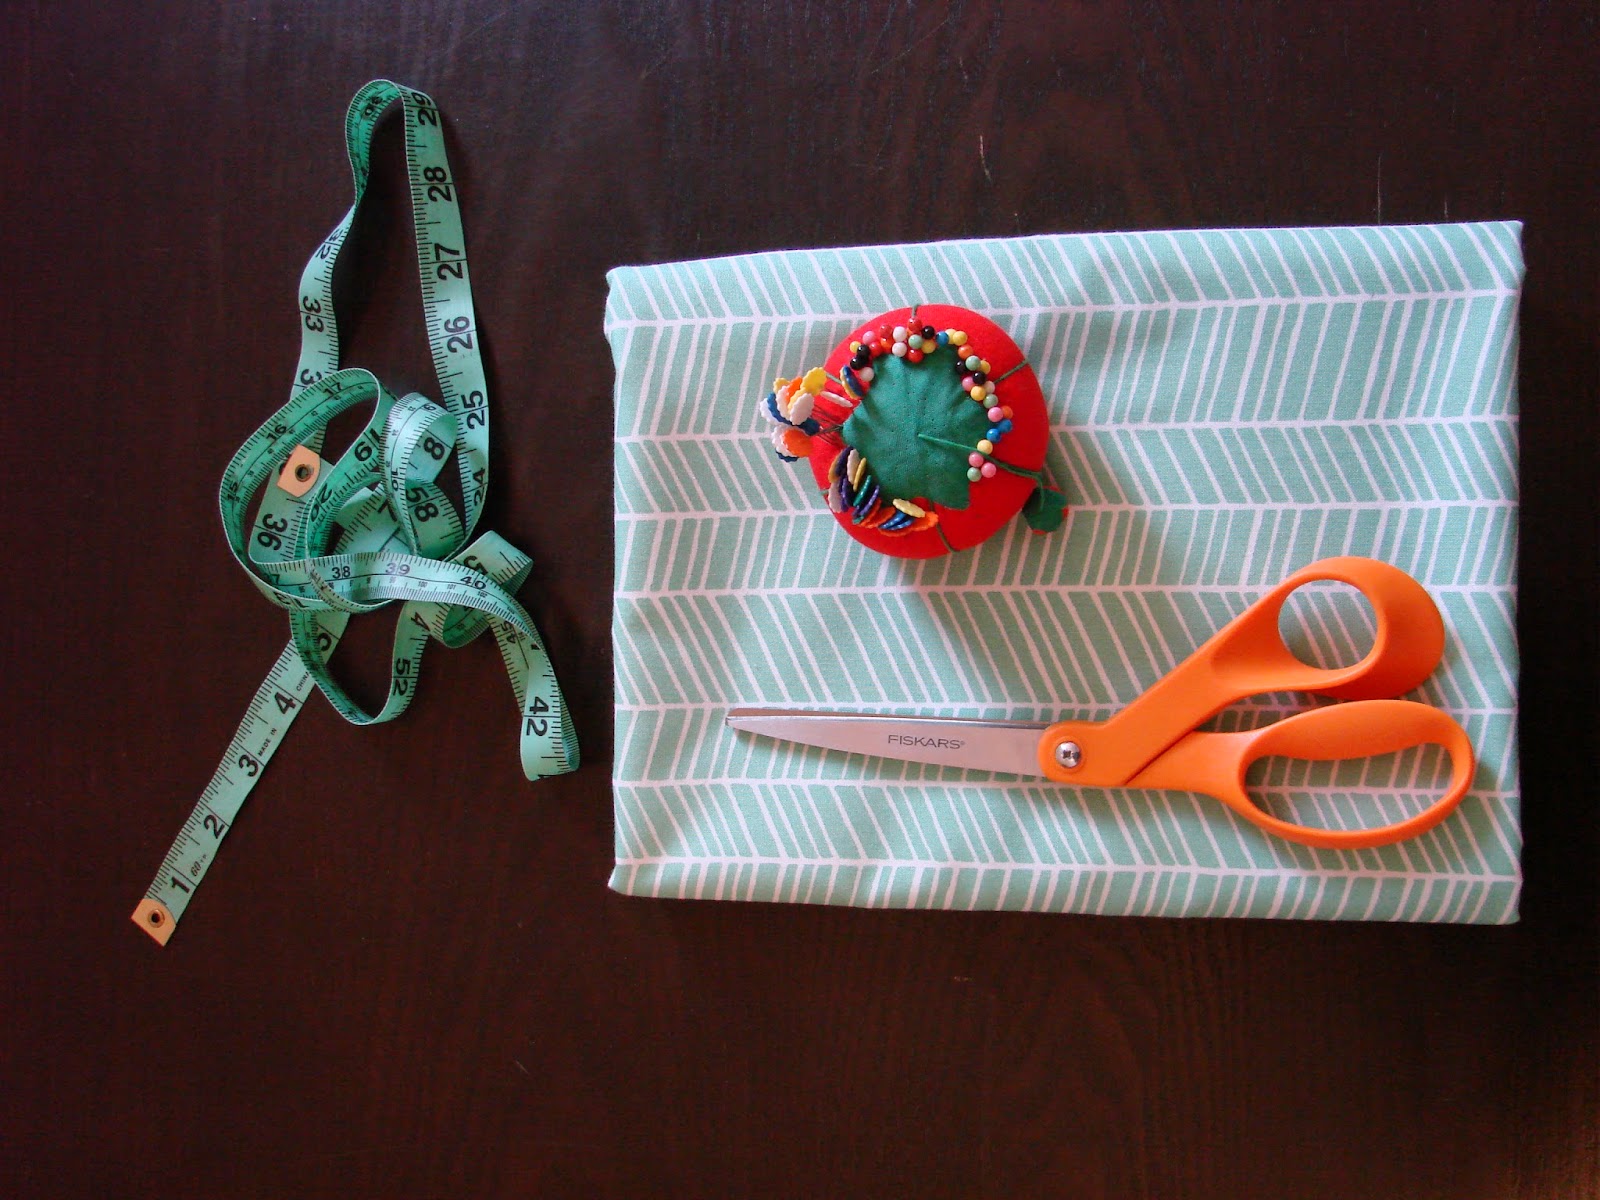
What you need:
-Pins
-Fabric scissors
-2 metres/yards of fabrics
-thread ~ it doesn't have to match your fabric exactly, but it shouldn't contrast it.
-sewing machine
-hand sewing needle (if you don't have any, run down to the store and get a pack of assorted "sharps;" they're super handy. You won't realize until you have them how often you use them to fix random things.
~ Pay attention to whether the print on your fabric is directional. If the stripes are horizontal (parallel to the selvage) then your stripes will be running vertically when you're wearing it, which some people don't like.
2 metres/yards with make you two 10"x 80"/10" x 72" scarves, or one scarf and a large 21"x 80/21" x 72" remnant. You can make two scarves or you can use the left over for something else. You can get a lot of quilt squares out of this, or you can make a laptop/Ereader case (a tutorial I don't have up yet, but it's on my list), or whatever you want; it's your fabric and your life.
You can, of course, make variations to size if you want. I quite like the 2 metre length because it can be wrapped around 2 or 3 times for two different looks. Kind of like having 2 scarves in 1.
I included the tape measure in the picture for some reason, but the way I do it, you don't really need one. I usually just have a tape measure nearby whenever I'm sewing in case I need to tape measure something.
Of course, you could also use a rotary cutter instead of scissors, but if you own a rotary cutter, I'll assume you know how to use it. Maybe I'll make a beginner's guide to rotary cutting some day. Yeah sure, why not?

This tutorial features this lovely fabric by Joel Dewberry.

First thing you should always do is cut off the selvage. I know a lot of people include it, but you really really shouldn't. The selvage is where the machine has clamped down onto the fabric for printing or dyeing and it is made out of different stuff than the body of the fabric. If you include it, even just in your seams, your seam will shrink in the wash and cause your seams to pucker.

Sometime the selvage is easy to spot, but sometimes less so. Tell-tale sign of a selvage are variations is colour and grain as well as these little holes. Make sure you cut off the whole selvage on both sides.

Now you need to cut your fabric in half length-wise. I find it easiest to lay the fabric out like this, with the raw edges to the left and the fold to the right. If you're left-handed, this set up will be the reverse.

As long as your raw edges are more-or-less matched up (they usually are), you can just cut along the fold all the way down like in the picture. If your edges aren't matched up, match them up and cut along the new fold, which will be the proper half-way point.

You should end up with two pieces about 21" x 80" (21" x 72" if you got yards). Each piece is large enough to make a scarf. If you're only making one scarf, fold up one piece (to minimalize wrinkling) and put it away for later.

Lay one piece out like this, hamburger style, so to speak, with the right side up.

Now fold your right sides together so that the wrong side is showing and the raw edges are at the top.

Now, starting from about 4" from the edge, start to pin the raw edges together. Some people prefer not to pin and that's fine. Cotton is fairly easy to keep in place without pins. If you're using anything other than a cotton, like a knit or satin, you'll definitely want to pin.

And keep on pinning until you get to 4" from the other side. My pins look about 4" apart from each other, but you might prefer something else. When I first started making infinity scarves, I tended to pin too much.

Now check each end. If the two raw edges aren't line up, you'll have to straighten them out to avoid puckering in the last step.

Like this.

You should now have a long piece about 10.5" x 80" (or 72" if you're using yards) with pins down one side.

I'm using white thread for this because that's what I had. Your thread colour doesn't matter too much. The machine sewing won't be visible at all and the hand sewing that's coming up will barely be visible. Just don't pick anything that starkly contrasts your fabric.

Now start sewing! Start about 4" from the edge. Make sure you fix your stitch. If your machine doesn't have a "fix" button (most don't) then just reverse back a stitch or two before you begin sewing. Be sure to take your pins out as you go along. Use about a 1/2" seam. I usually make it just a tad bigger, as you can see in the picture just so that I don't have to worry if the bottom layer slips to the left a little bit.

And keep on going until you're about 4" away from the end. Fix your stitch and then remove your scarf from the machine.

Next, because cotton frays, we need to zigzag stitch the sides. If you have a serger, you can use that, but I find it easier to just use the zigzag stitch on my machine. This seam won't be visible, so it doesn't matter how it looks. There should be a zigzag stitch button on your machine that looks like a little zigzag. Third from the top in this picture.

You may want to change the stitch width and length. This stitch doesn't need to be very wide, so you can make it thinner to save time and thread. The button on the left changes the width and the button on the right changes the length.

Now you need to zigzag stitch in between your previous stitch and the fabric edge. Don't forget to fix your stitch!

Should look something like this. Upon further reflection, I probably should have made the zigzag closer to the fabric edge and a bit shorter, but this will suffice just finely.

Now snip all your loose threads.
This was an incredibly awkward picture to take on my large-ish camera with only my left hand.
Now you should have a long tube that you can stick your arm through. So stick your arm through it, bunching up the fabric until your hand comes out the other end.

My husband walked in just as I was taking this picture. Ugh. I'm so strange.

Now grab that end and pull it through. In this picture, I'm pulling from left to right.

Until your tube is right-side out.

Now put the two far ends of the scarf together. If you want your scarf to have a twist in it, now is the time to add it. If you don't want a twist (which is what I've done and prefer) then make sure it hasn't twisted at all.

Line them up as well as you can and start to sew. Don't forget to fix your stitch! I don't use pins here, even if I'm working with a more difficult fabric because I find it's more trouble that it's worth and I just get poked a lot anyways.

You should end up with something that looks like this.

You'll have to zigzag stitch again.

Now stuff the little fan that's sticking out inside the scarf.

And you should end up with a totally sewn scarf with a little hole. You can try it on now. Besides this little hole, it'll look completely finished.

Now comes the part that some people dread but really really isn't that bad; the hand-sewing. Since I sell infinity scarves, I'll often make ten at the time and I love to do all the machine sewing and then watch some Netflix while I do the hand sewing. It's nice and relaxing. It might take a bit of practice to get really good at it, but it's really not that hard, nor are any mistakes you make nearly as noticeable as you might think they are.
For hand sewing with quilter's cotton, I suggest a small sharp needle. A quilting needle will work, but I find those dumb things so small and hard to thread and they're not necessary.
To get your thread, hold the spool by your left shoulder and pull the end with your right hand. After you've stretched out your arm, cut the thread near the spool.

Now thread your thread through the needle's eye and equal out the two sides. Now tie two knots, one over the other so that you have one large knot.

Now fold each edge over about the same size as your seam and hold it in place with your non-dominant hand. You can use binding clips here if you have them and are used to them, but it's not necessary.

You're about to sew an invisible stitch. If you've ever hand sewn on binding for a quilt, this is very similar. Easiest thing to do is just look at the pictures.


I suggest starting in the middle so that your seams end up aligned and then going out to the side and then to the other side and then back to the middle so that you've gone over everything twice. Keep your stitch length relatively small. You don't want to be able to see holes in between stitches if you pull it.
Make sure not to pull too tightly, but not too loosely. You shouldn't be able to see the thread, but the fabric shouldn't be puckering.

Once you're done, you'll have to knot off the thread. Do at least two double knots. The way I've done it in the picture leaves the knot visible. This is so that you could see what I was doing. You can make the knot invisible as well, but even if the knot is visible, it's pretty hard to spot, especially if your thread matches well.


Don't forget to snip that thread.

It should look something like this in the end. If you have a few threads showing here and there, don't worry about it; it's not noticeable.
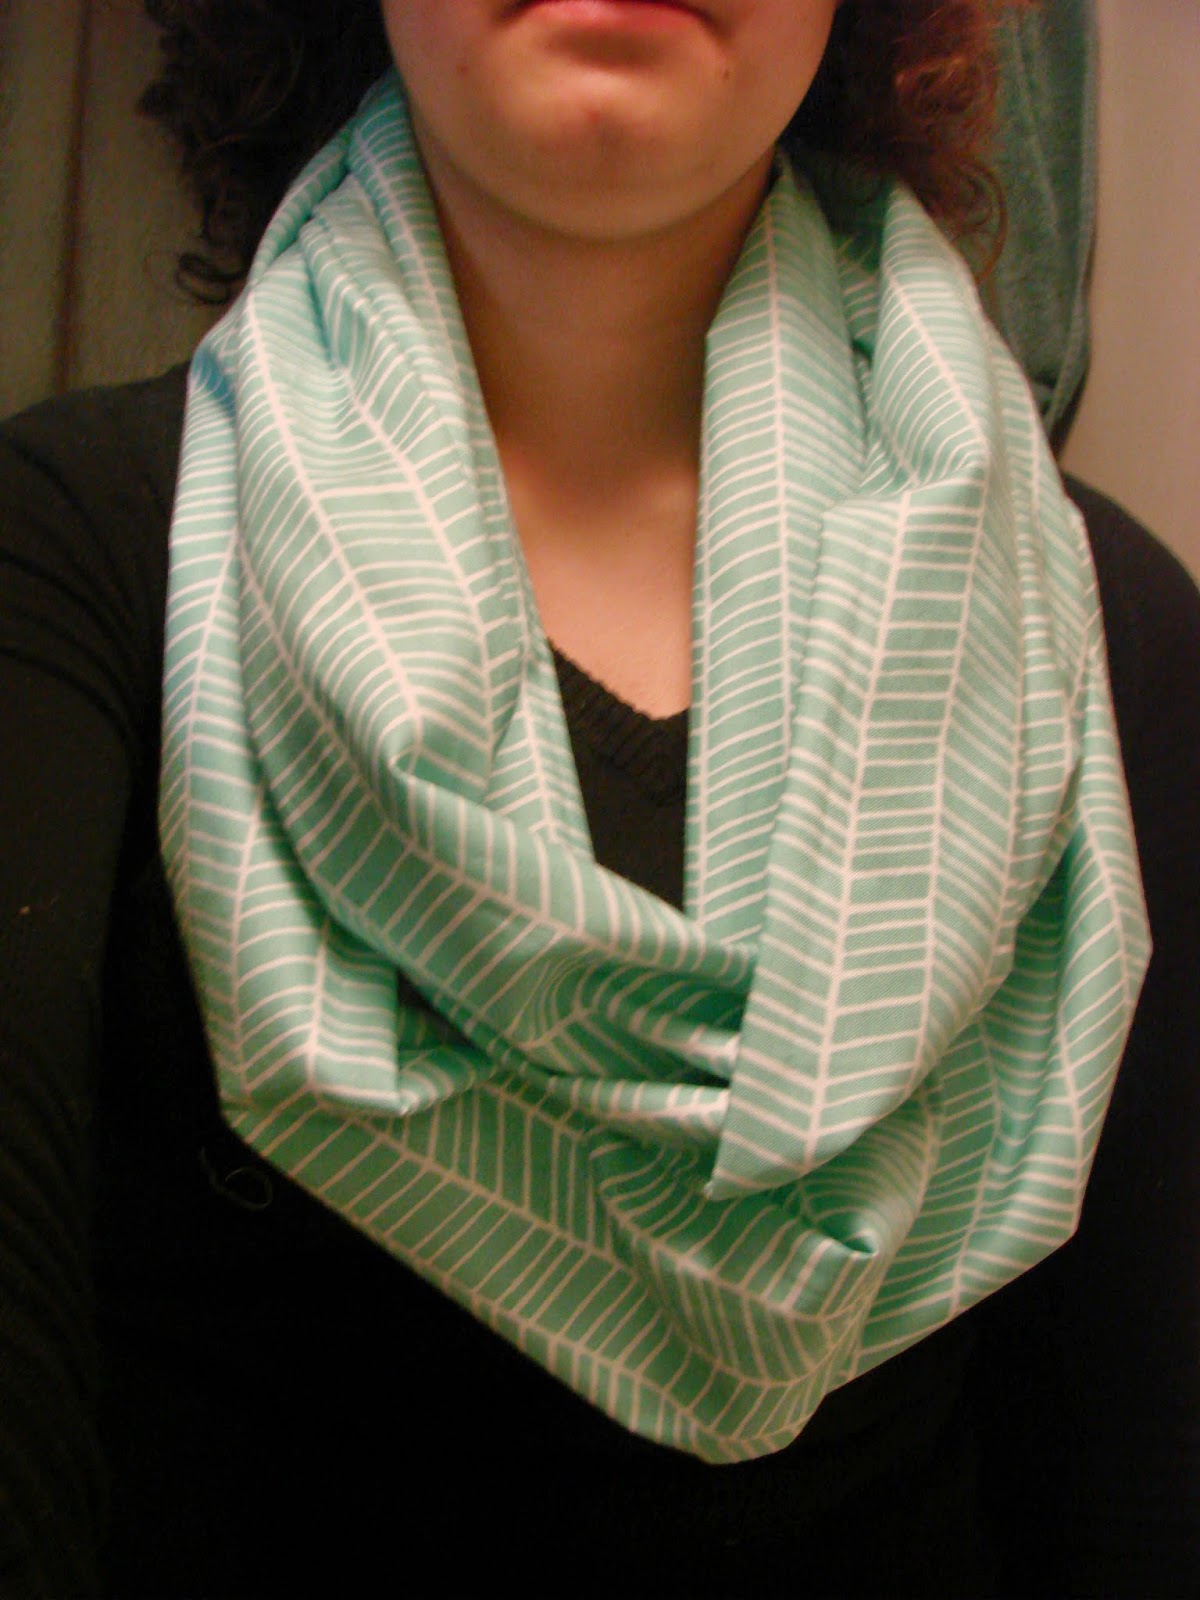

And there is your beautiful finished scarf. Congrats and enjoy. :)
If you liked this tutorial, then check our all the other networking nonsense I'm trying to be good at.
No comments:
Post a Comment