

Want something to protect you flat-ish electronic device, but you don't want one of those cases that everybody has?
Like the convenience of a laptop, tablet, or eReader, but still want a bit of that nostalgic, old-fashioned, "back in the day" touch?
Well, then make a fabric case for your flat-ish electronic device, why not?
Materials you need:
~Fabric*
~Fusible fleece**
~Thread to match***
~Pins
~Tape measure or ruler
~Fabric scissors
~The device you're making a case for
~Some sort of marking marking tool (pencil, pen, chalk, etc...) that can be removed (optional)
*The amount of fabric you need depends on the size of your device. If you're buying 45" wide fabric (which is the width of most quilter's cottons), then following these directions:
¬device length + height is 8" (20 cm) or less ~ get the width + the height of your device plus 2" (5 cm)
-device length + height is 8-18" (20-45cm) ~ two strips device width + device height + 2" (5 cm). One strip will be for the inside and one for the outside. These can be different fabric, as with the laptop case above, or the same.
**Fusible fleece is essentially a thin polyester batting or needle punch that can be ironed to fabric. It doesn't have to be fusible, but it does make the project a bit easier. This is also what is generally used inside of handmade bags. You could also use polyester fleece, although it stretches more than fusible fleece.
*** A polyester/all-purpose thread from a good brand like Guetterman or Mettler is advised.

Measure your device width and height and add 2" (5 cm) and cut a strip that length (if using two strips, cut 2 strips). This need to be as straight as possible, so if you have a rotary cutter ensemble, use that. If not, use a ruler to draw a straight line or what ever other method you find works for you.
You want to err on the side of the strip being too big, so if you're not confident, make your strips a bit bigger, especially if you'r working with a bigger device.

Next cut (a) strip(s) from the fusible fleece that are about 1/4" smaller on each side that your strip of fabric. Lay this strip on top of the fabric strip to make sure that it's pretty much the same all the way down the fabric. Under no circumstance should it be wider at any point and it helps the end seams not be so bulky

If you managed to find fusible fleece, iron your fleece to your fabric making sure that the adhesive on the fleece is facing the wrong side of the fabric.
Do this to both strips if you have two.

Now, fold it in half long-ways with right sides together, like this. you may want to pin the long sides together. I didn't, but you know your comfort levels, so you do what you gotta do.
If you have two strip, just put them together, right sides together and pin them in place.

Sew the fleece to the fabric. You want the fabric seam allowance to be about 1/2" and your fleece seam allowance to be about 1/4". If you're fabric is lining up with the side of your foot, it will probably be 1/2", but not all feet are the same. If you're unsure, check on a scrap piece of fabric and then measure. Your fleece should be about halfway between your needle and the edge of the foot/the edge of your fabric. My A foot has a notch that lets you line up your fabric at about 1/4". It's not perfectly accurate, since I don't think it was meant for that, but it works in situations like this where it doesn't need to be exact, just pretty close.
If you only have one strip, you just need to sew the two long sides. Be sure to leave the top open.
If you have two strips, sew the long sides as well as the bottom, but leave the top open. You can do this all in one go if you pivot. When you get to a corner, stop sewing 1/2" away from the edge of the fabric, put your needle down, lift your foot up and turn the fabric and put the foot down and keep on sewing.

Not perfect, but you get the idea. Should look something like this.

Now turn the whole thing inside out.

Make sure that the bottom corners are nice an sharp. You'll probably want to utilize some sort of small object like a pen with the cap on it or a Purple Thang (TM) to poke the corners out from the inside.

Now, place your devise on top of the strip. There' should be about 1/2" + the height of your device on each side.
Fold the bottom up to where you would want it to be. I put mine about 1/2" below the top of my device, just to avoid bulkiness.

Now fold the top down and make sure that it sits where you would want it to. It's going to be about 1/2" shorter because we still have to trim it, but you should be able to know whether you need to shorten it.
Mine was quite a bit longer than I wanted it to be (I just used to whole width of the fabric, even though I knew I wouldn't need it) so I ended up cutting about 4" off.

That's better.

You may want your top flap to look like this. If you do, just fold the corners inward, and pin them in place before continuing.

I chose not to fold in the corners because I did that last time and I wanted to try something different. It was hard to fold in the corners, but I liked it better.
Either way, fold in the raw edge on the very top about 1/2" and pin it in place.
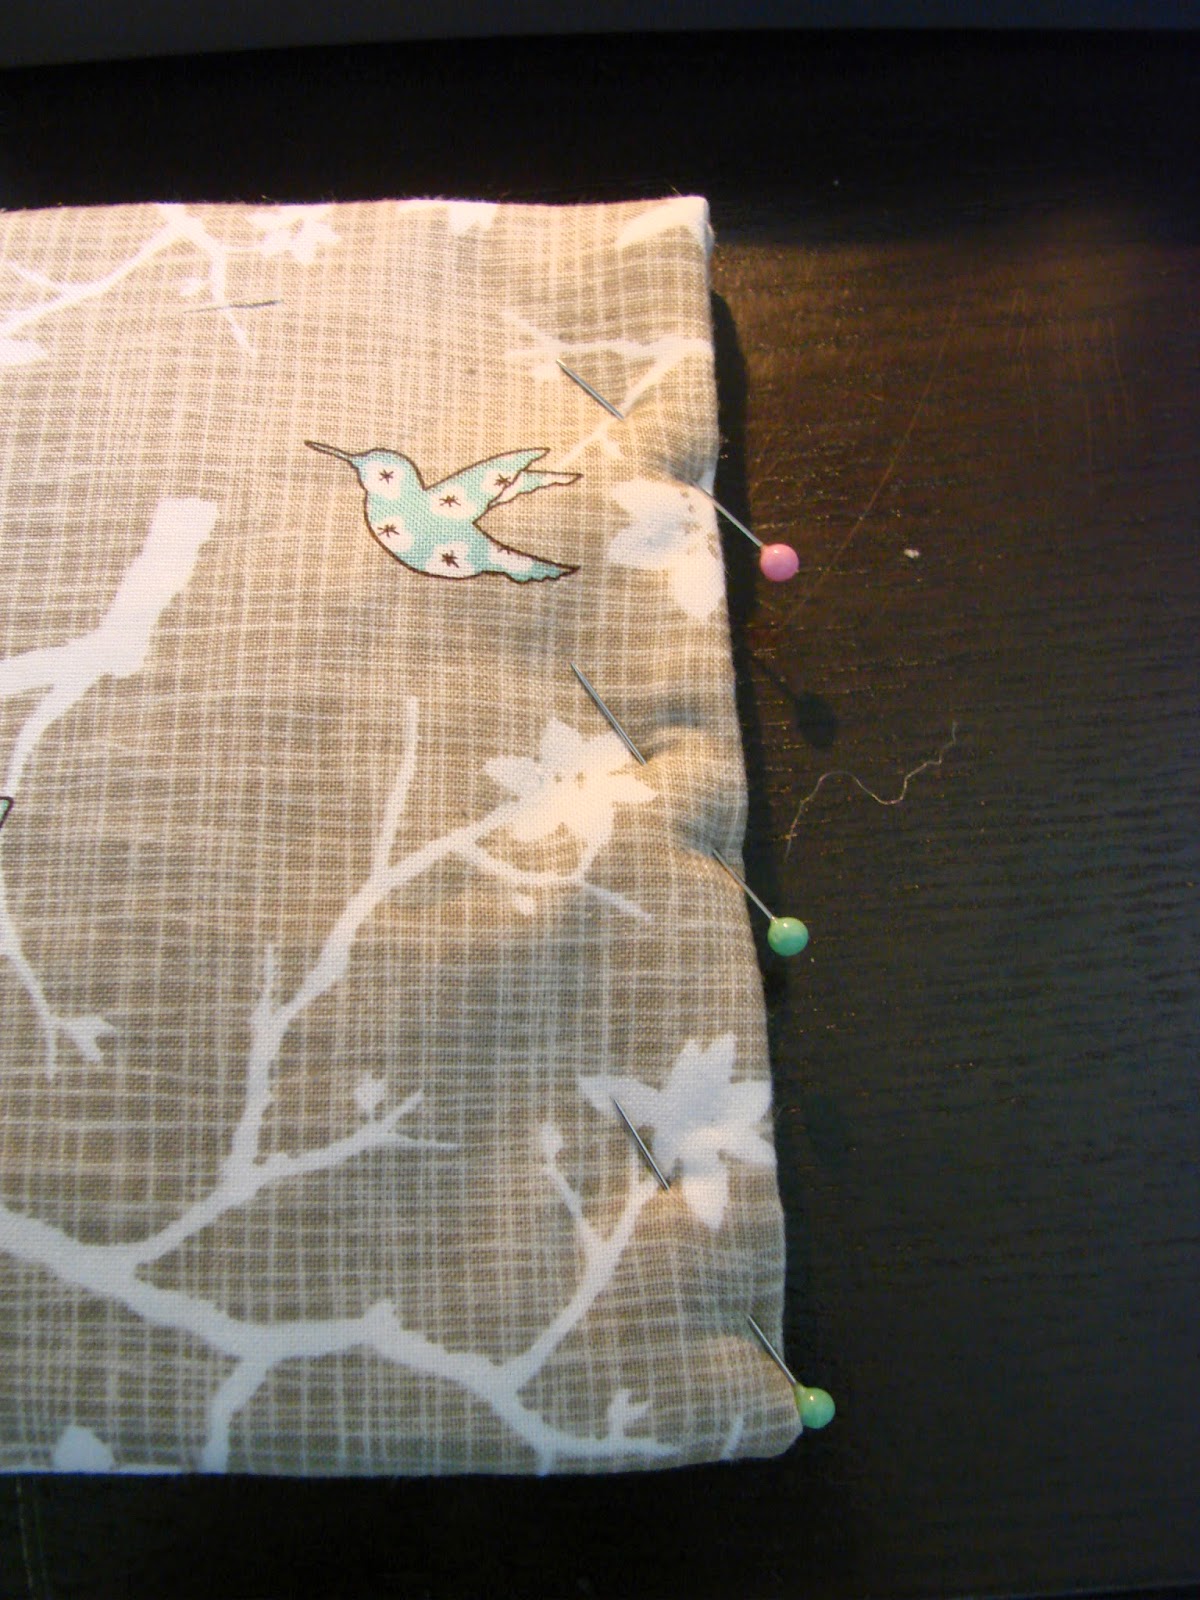
Like this. My pins are diagonal because you get more surface area that way. Makes the actual act of pinning a bit easier.

And sew it in place, being sure to remove your pins before you go over them. Also be sure that you're sewing over all four layers. You'll want to be sewing about 1/4" in from the edge of your fabric, but it need not be exact. As long as you're getting everything.

I was dumb and missed a step, so I don't have a picture of me doing this properly, but you should no attach the female end (if there is one) of whatever type of fastener you are using to the bottom flap.
Now, using your device, again fold the bottom part up to where you would want it to rest on top of your device and pin both sides in place

And sew along these edges. Try to get as close to the edge as you can, but your machine may not be able to handle going over the quadruple seam allowance right at the edge.
Now, slide in your device and find where you want the male or other end of your fastener and attach it there. If you're using buttons or snaps, you probably want to use a hand needle and thread, like I have.

try to make the thread as unnoticeable as possible.

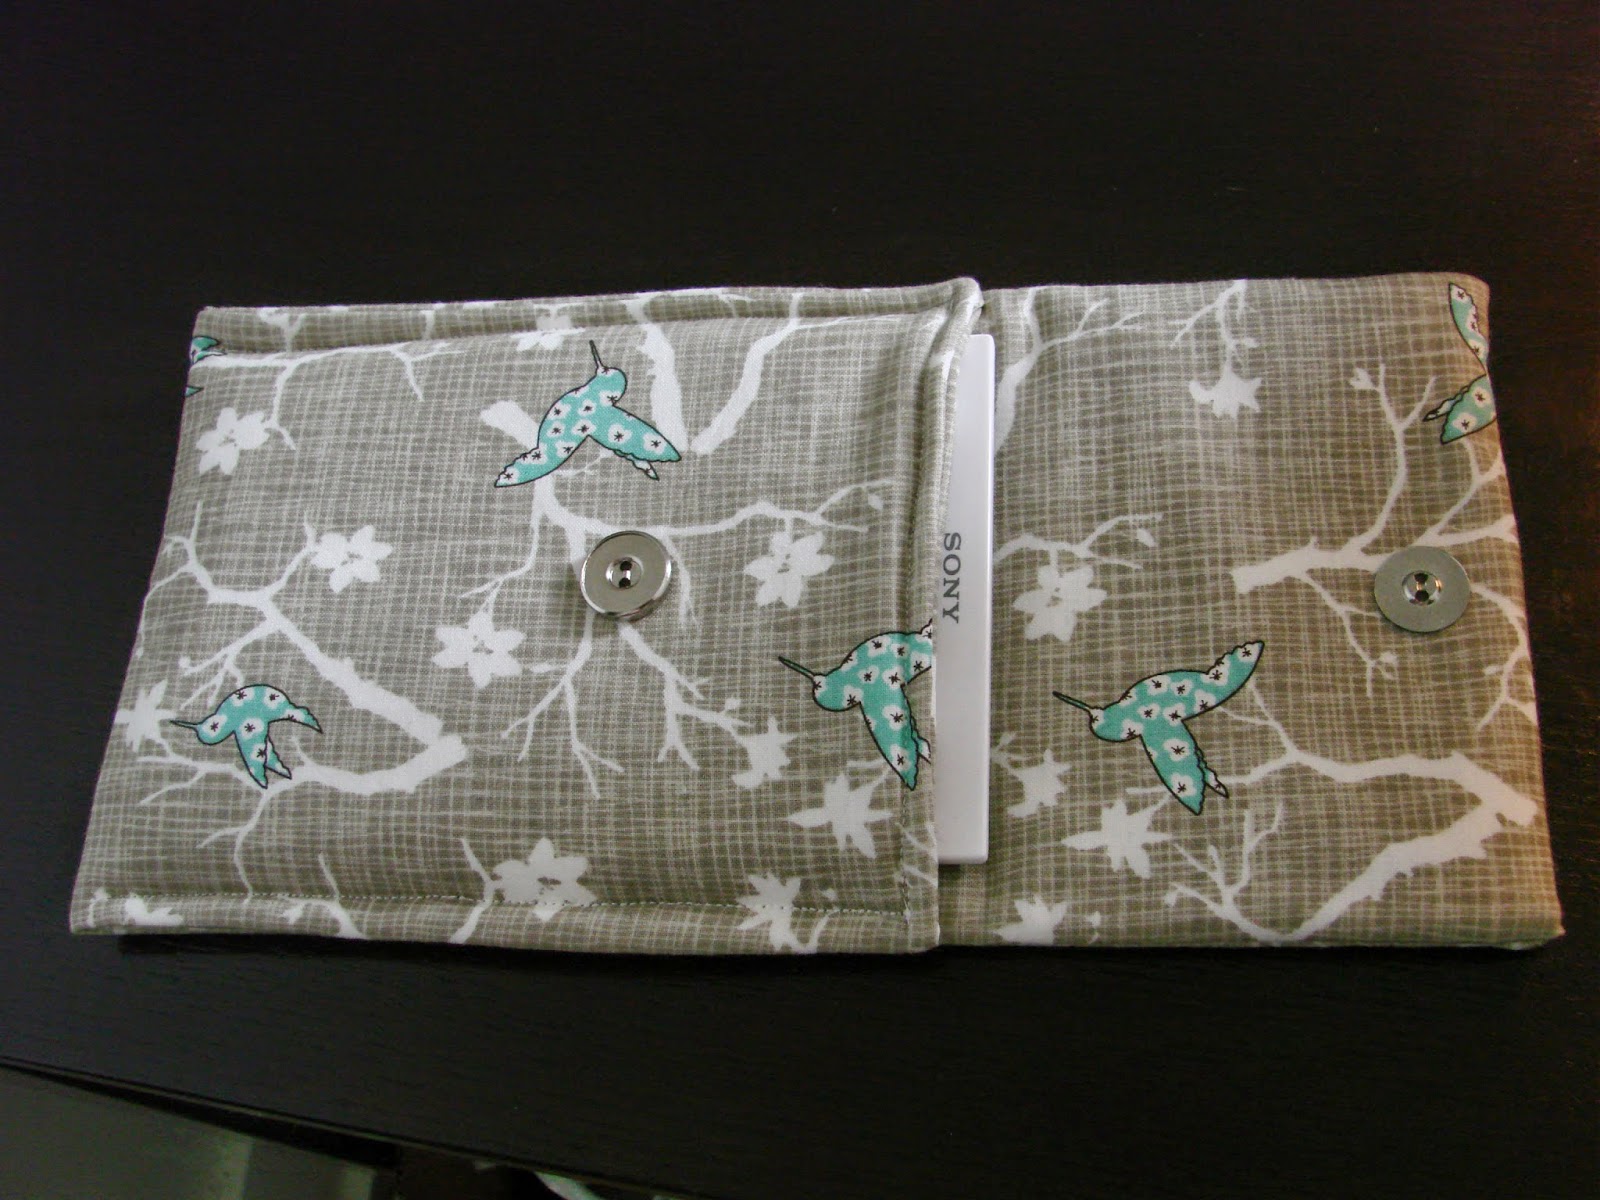
And there you have it! Your very own, brand new flat-ish electronic device case! Go you!


Pretty nice, if I do say so myself.
If you have any additional questions or comments or think I missed anything or said something wrong or like my blog or hate it or quodlibet, just leave a comment.
Or if you just wanted to comment anyways, that'd be nice, too. You know, so that it looks like my blog is super popular or whatever.
------------------------------
If you liked this post, then check our all the other networking nonsense I'm trying to be good at as well as the other posts on this blog:
Blog Home
Blog Home
No comments:
Post a Comment